Producing
Step 1
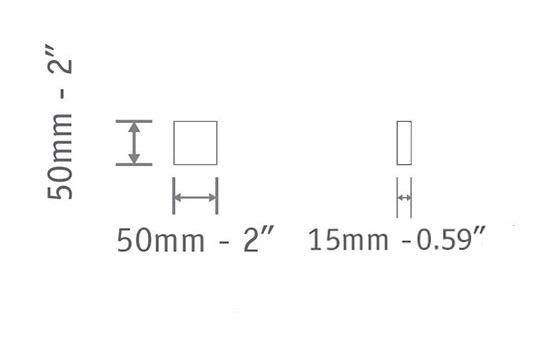
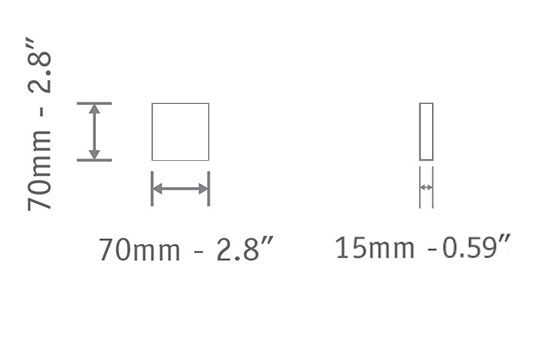
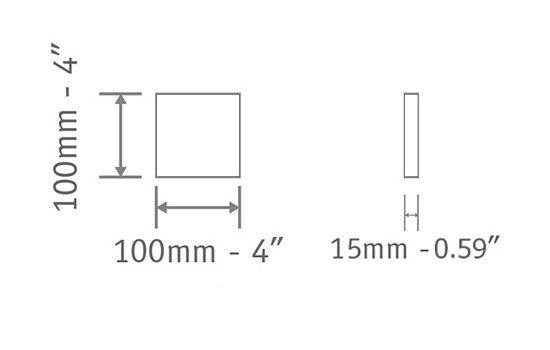
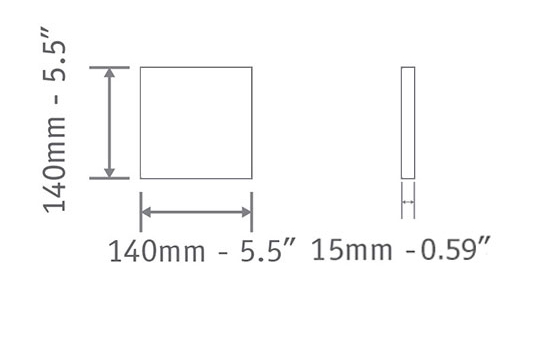
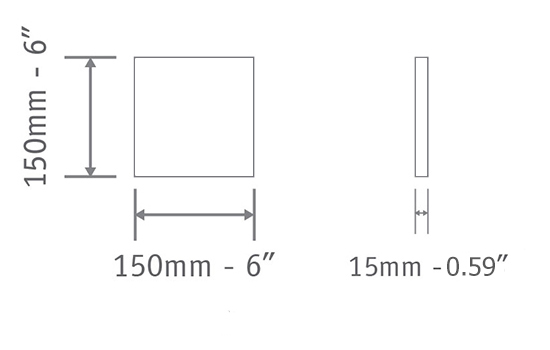
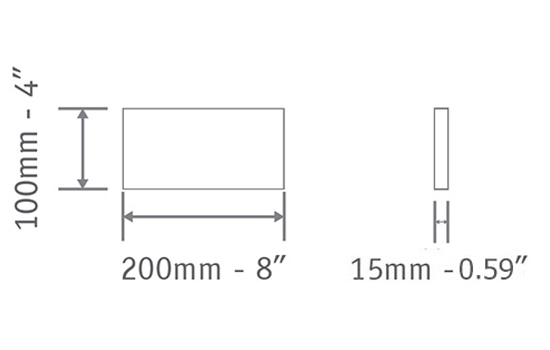
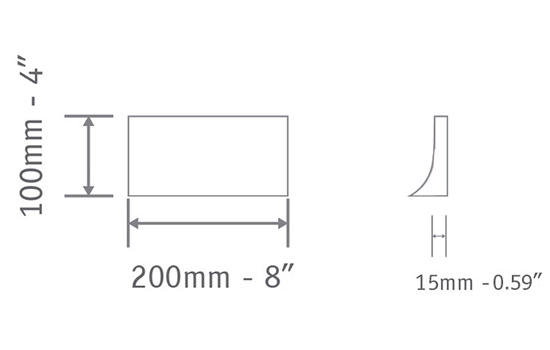
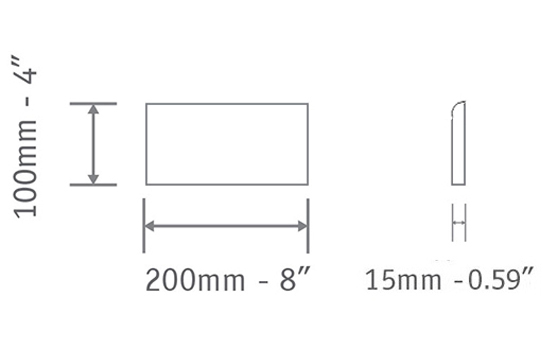
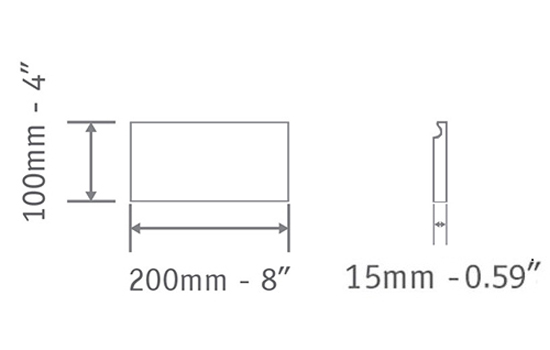
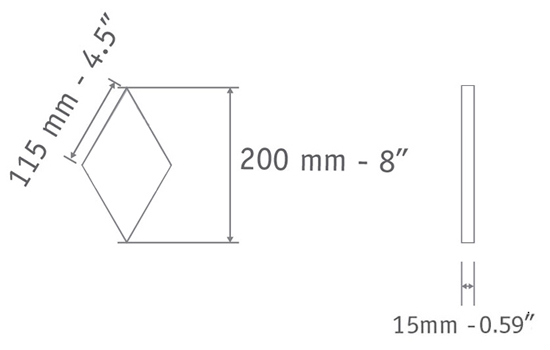
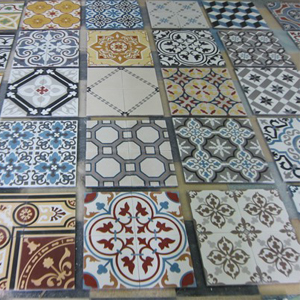
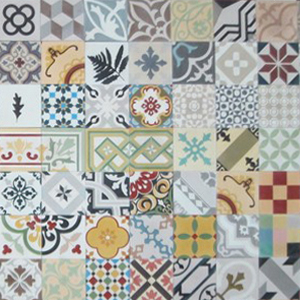
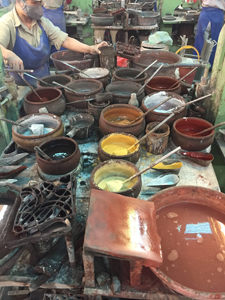
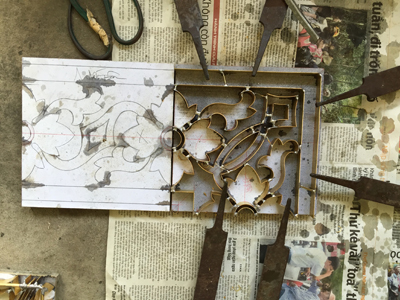
Testing colors (in case of new colors requested by clients) for matching and preparing copper divider molds as well as pressing molds based on order requests. This step will determine size of tile and quality of top layer of cement tile.
Producing
Step 2
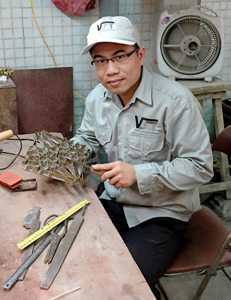
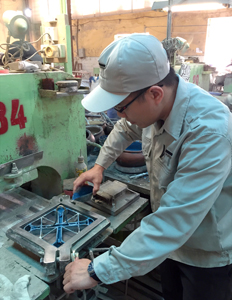
Insert divider mold into pressing mold. Then pouring the prepared colors into the pattern divider chambers as designs.
Producing
Step 3
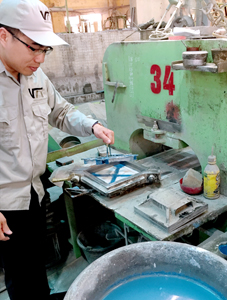
The pattern divider to be removed and then the first coat will be covered with another two layers of dried mortars and humidified one as basement. This step requires special technique to guarantee same thickness for every tile.

Producing
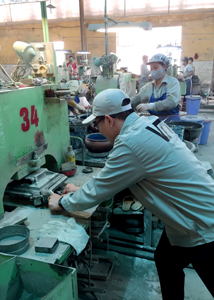
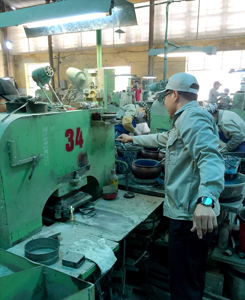
Step 4
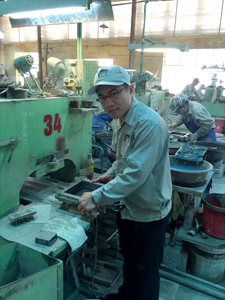
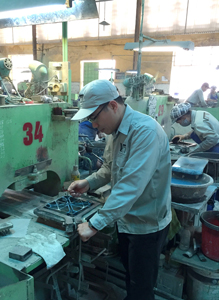
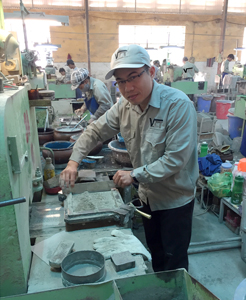
Put whole mold into hydraulic pressing machine for a while.
Producing
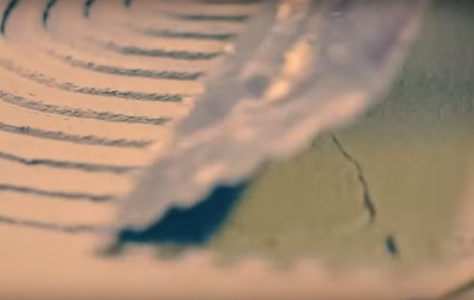
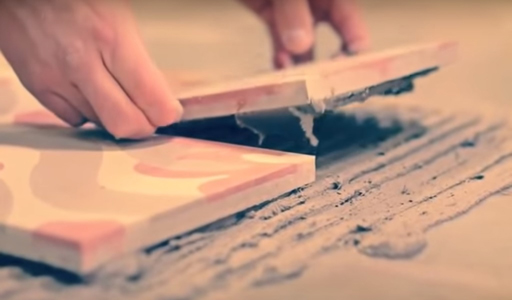
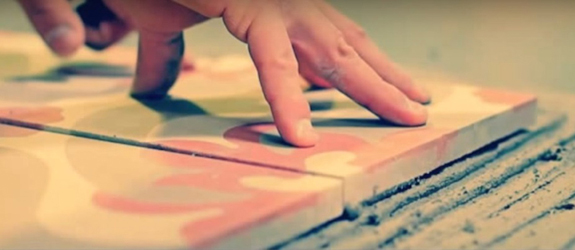
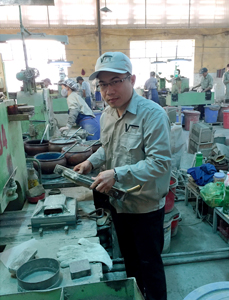
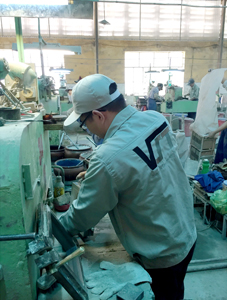
Step 5
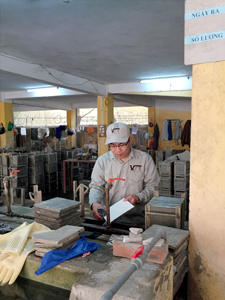
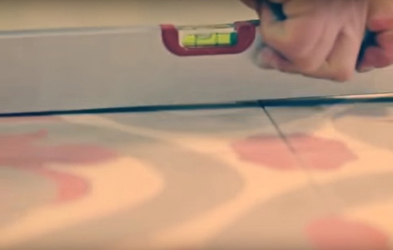
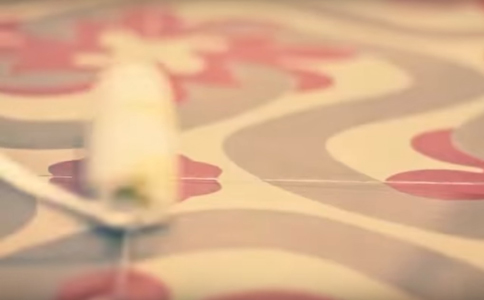
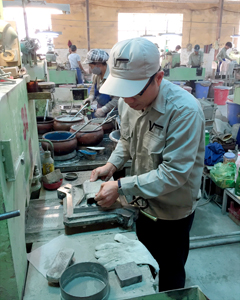
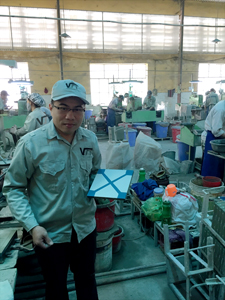
The tiles to be removed from molds carefully by the craftsman, then tile is inspected carefully for desired quality by himself before leaving for next steps.
Producing
Step 6
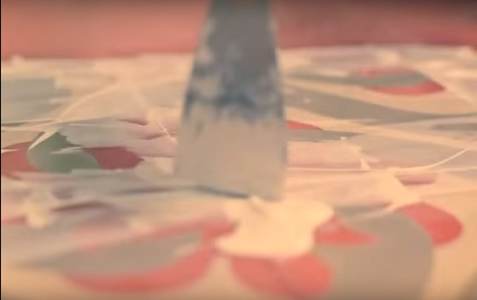
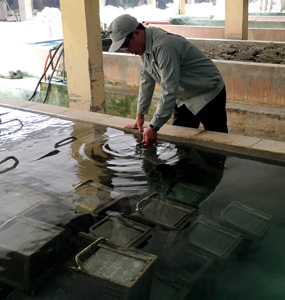
After curing in clean open air areas, tiles will be cured in water tanks for hardenning.

Producing
Step 7
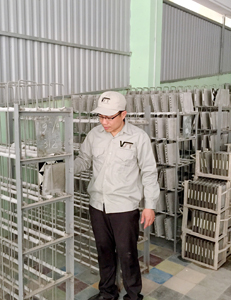
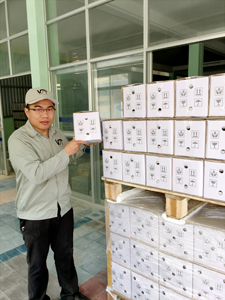
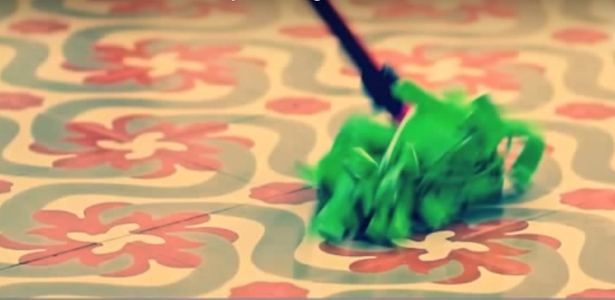
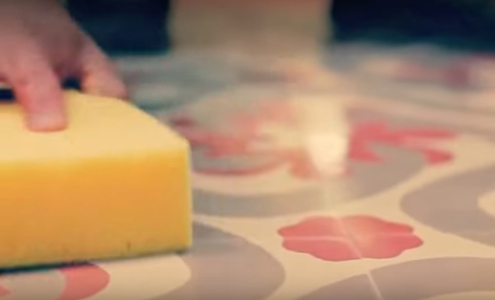
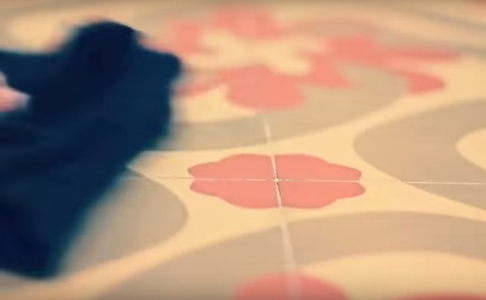
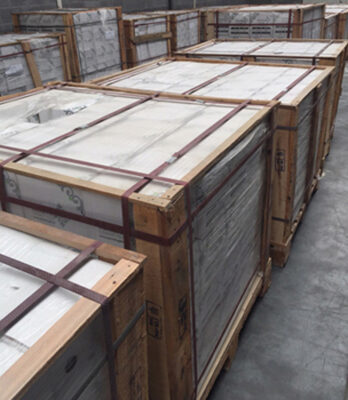
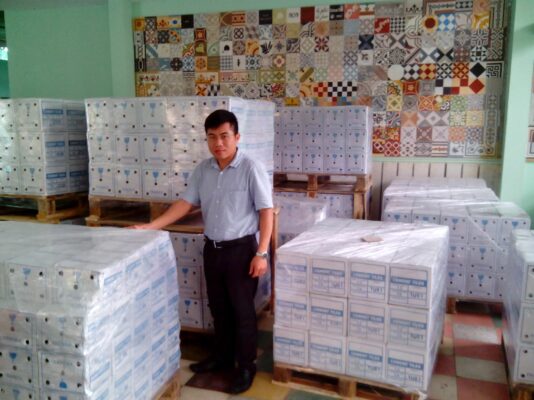
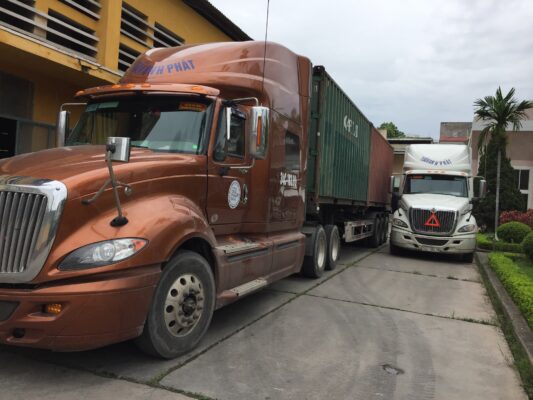
The tiles will be cleaned and taken out to cooling rooms and put on drying racks for 3-4 days for being dried enough (less than 17% humidity) before waxing and packing in carton boxes for packing and loading. A serious quality control on every piece will be conducted in this step.